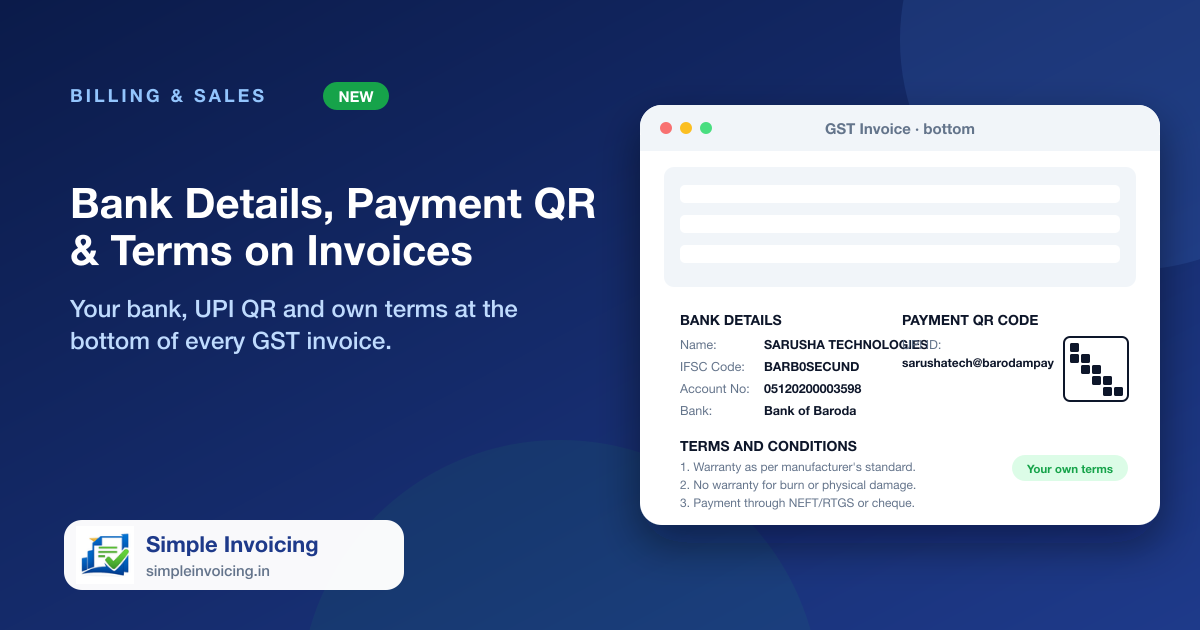
Customers pay faster when the way to pay is printed on the invoice. Add your bank details, UPI ID and a payment QR code once, write your own terms and conditions, and they appear at the bottom of every GST invoice, PDF and shared invoice link.
What you can do
Bank details and UPI QR
Account holder, IFSC, account number, bank and branch, next to your UPI ID and an uploaded payment QR code, laid out like a traditional GST invoice.
Your own terms and conditions
Write one term per line and they print numbered. Leave it empty to keep the standard terms.
A tighter invoice
The logo now sits on the left with the company details beside it, item names are shown without long descriptions, and spacing is reduced so more rows fit on a page.
Printing that stays in front of you
The A4 GST print now opens in your current window at full size, instead of a small pop-up in the corner of the screen.
Also included
- Shown on the printed invoice, the PDF and the shared invoice page
- Set once under Company settings
- A compact, redesigned invoice detail page with totals at a glance
- Nothing to change on invoices you already made
Frequently asked questions
Where do I add the bank details and QR code?
Open your company from the Companies list and edit it. The Bank Details and Payment & Terms sections hold everything printed on invoices.
Can customers pay straight from the QR on the invoice?
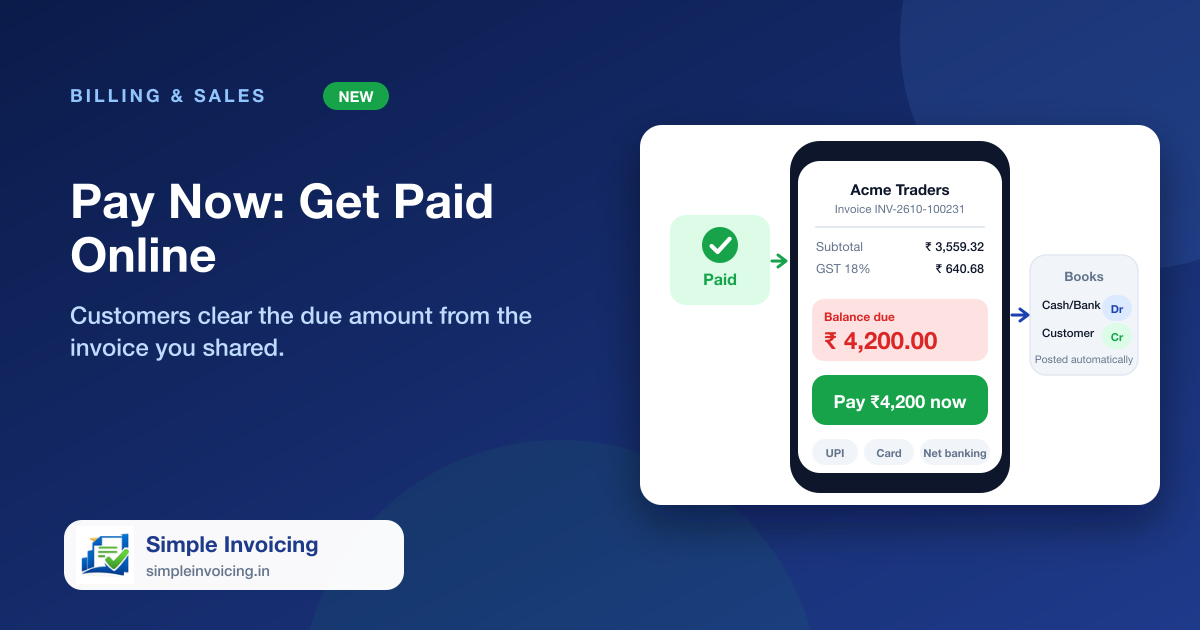
They can scan the UPI QR with any UPI app. For tracked online payments with automatic reconciliation use the Pay Now button on a shared invoice.